Ultimate Guide to How to Purchase a Domain Name: A 13 Steps Guide
If you’re looking to acquire a domain name, the process is straightforward. Here’s a comprehensive step-by-step guide to assist you:
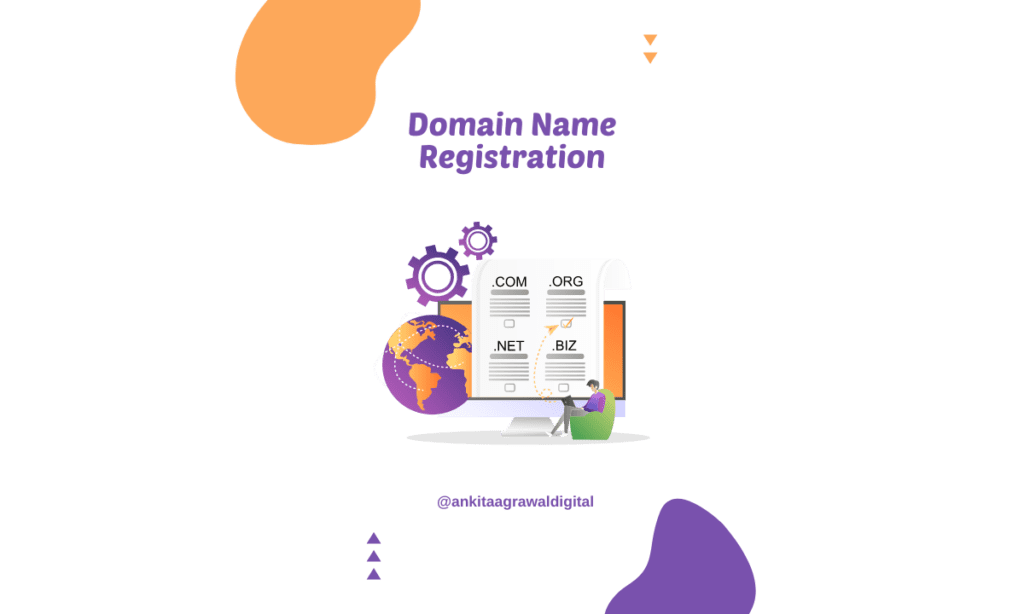
13 Steps Process to Purchase a Domain Name
1. Choose a Domain Name:
- Begin by brainstorming and selecting a name that accurately represents your brand, business, or online identity. I already explained it in detail in my article Choose the Best Domain Name for a New Website
- Prioritize names that are easy to spell, memorable, and directly relevant to your purpose.
2. Check for Availability:
- Head over to a domain registrar’s website, such as GoDaddy, Namecheap, or Google Domains.
- Utilize the provided search function to verify if your desired domain name is currently available.
- Should your first choice be taken, consider alternative variations or explore different domain extensions.
- For my website, I used Godaddy.com for the selection of domains.
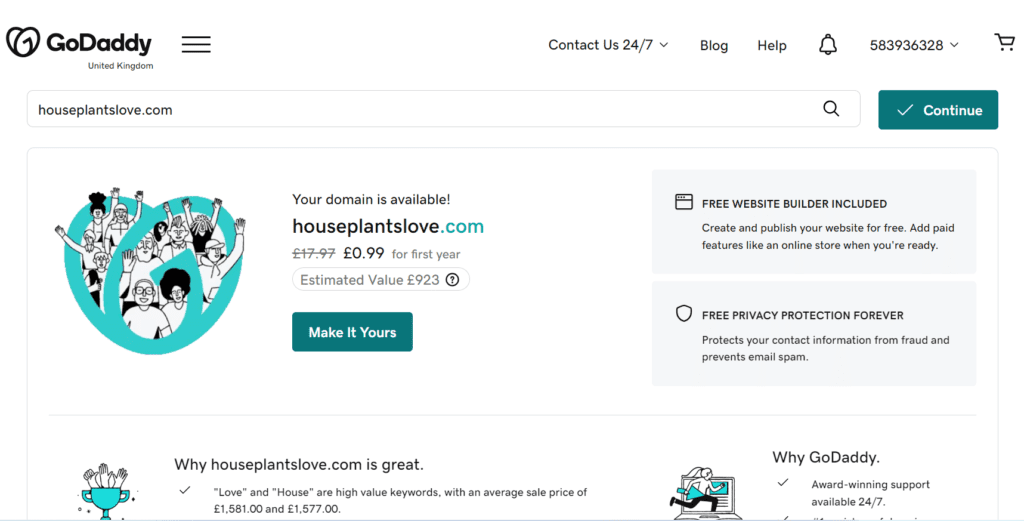

3. Select Your Domain:
- Upon identifying an available domain name, proceed by clicking the “Add to Cart” option or its equivalent.


4. Review Your Order:
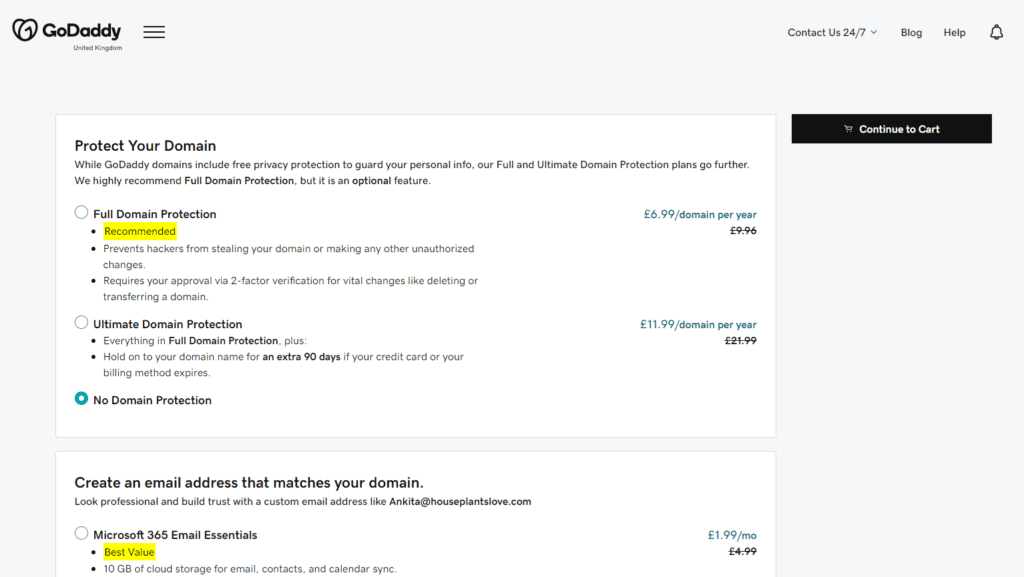
- Take a moment to review the domain name itself, the chosen registration period, and any optional services like privacy protection that you may wish to add, and then again press the continue to cart button.
- I selected the no protection option because I know all the steps for protection. But if you are new I suggest selecting the protection option.

5. Create a User Account:
- If you do not have an existing account with the registrar, you’ll need to create one.
- Supply accurate contact details, including your name, address, email address, and phone number.
6. Determine Registration Period:
- Indicate the number of years you intend to register the domain for; typically, this spans from 1 to 10 years.
7. Consider Additional Services (Optional):
- Opt to include privacy protection, a service that safeguards your personal information in the publicly accessible domain registry.
8. Proceed to Checkout:
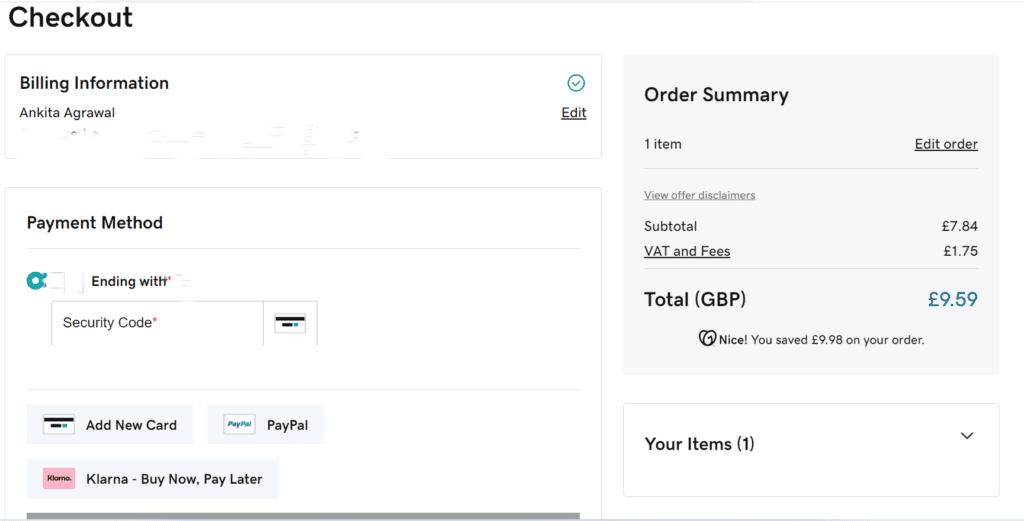
- Click the “Checkout” button or its equivalent to advance to the payment stage.


9. Complete the Payment:
- Input your payment information, which may involve entering credit card details or employing your preferred payment method.
- Carefully verify your order details before finalizing the transaction.

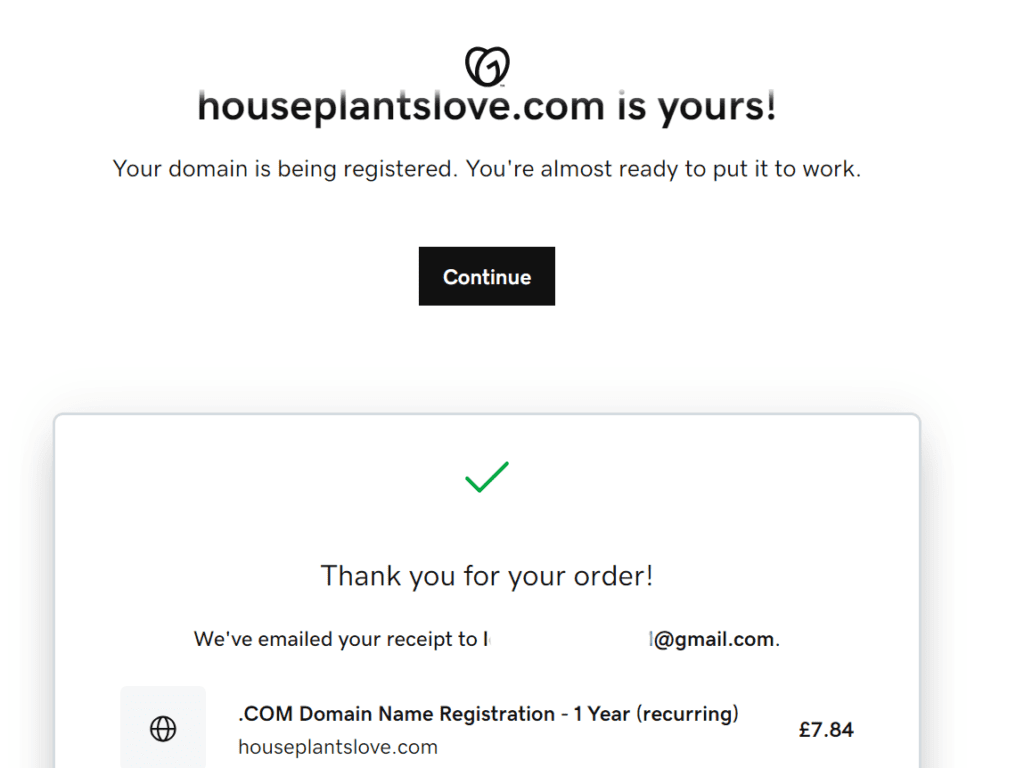
10. Confirmation Email
Following successful payment processing, you will see the blow thank you screen and receive an email confirmation containing pertinent information about your domain purchase.

11. Access Domain Settings
Utilize the credentials you established earlier to log in to your registrar account.
12. Configure DNS Settings
- Inside your account dashboard, locate the newly acquired domain and access its settings.
- Establish DNS (Domain Name System) records to connect your domain to a website or other online services.
13. Utilize Your Domain:
- Your domain is now ready for use. It can be employed for various purposes such as hosting a website, setting up email addresses, and more.
- Should you be in the process of building a website, integrate your domain with a hosting service and embark on crafting your content.
Remember that while procuring a domain is a relatively straightforward process, effectively managing it, generating content, and constructing a website demand ongoing commitment. Ensure you regularly renew your domain registration to maintain ownership and uninterrupted use.


